Quilting Quest
Hello all! No, we didn’t die tragically during the Great American Road Trip. We didn’t even get a minor traffic violation. So what’s the deal, you may be asking. Truthfully, it’s a combination of sheer summer laziness and also 80% of the photos from the trip were shot on film and have only just been developed. Keep an eye out for the full scoop coming soon.
But what I’m really excited about lately is my quilting quest. I’ve always been kind of astounded at the intricacy and folk art of quilts, not to mention the women who make them. Shortly after getting back home from our trip, LoisLouis and I accompanied my favorite grandma Evelyn to the Chippewa Valley Quilt Show at the senior’s center in Chippewa Falls, Wisconsin.
To be perfectly honest, I wasn’t really looking forward to it until Evelyn mentioned that she had a keepsake quilt top that my great grandmother had fashioned out of old flour sacks and dresses during Evelyn’s childhood in the 40’s. I couldn’t wait to see it!
After the quilt show (which was much more fascinating that I had originally anticipated), we stumbled upon a mini flea market that was on for Chippewa’s Clear Water Days. Here we found a true treasure trove of astonishingly inexpensive vintage tidbits: silk scarves, 20’s era trims and embellishments, crochet table cloths, and a beautiful but raggedy quilt top from the same era as my great grandmother’s. I snapped up an armload of stuff for a miniscule $8 and our trio headed back to the Nelson homestead.
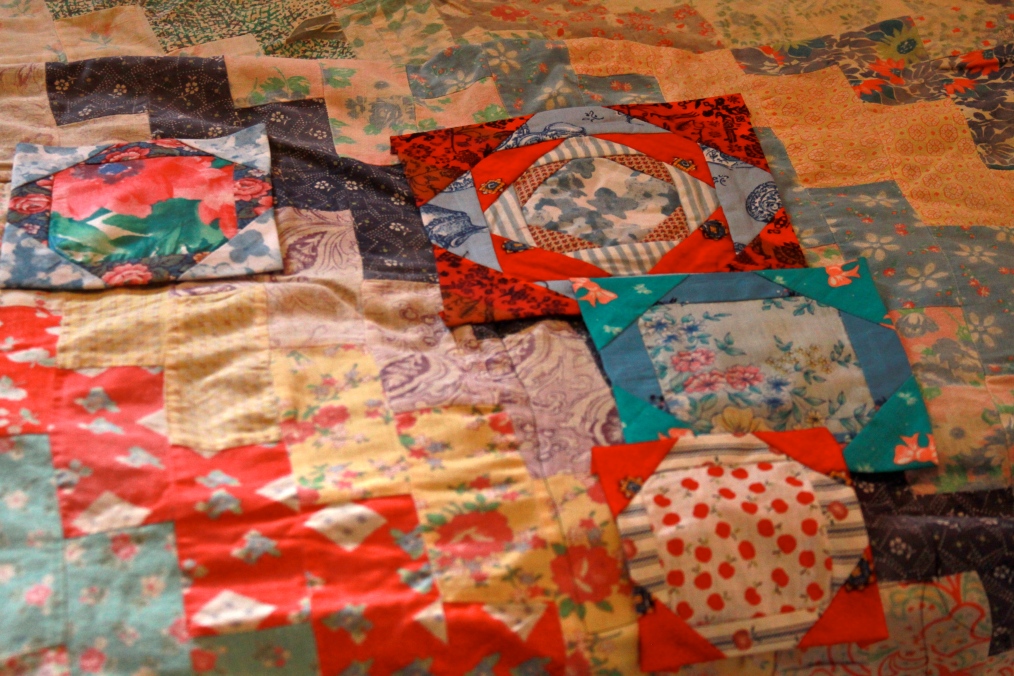
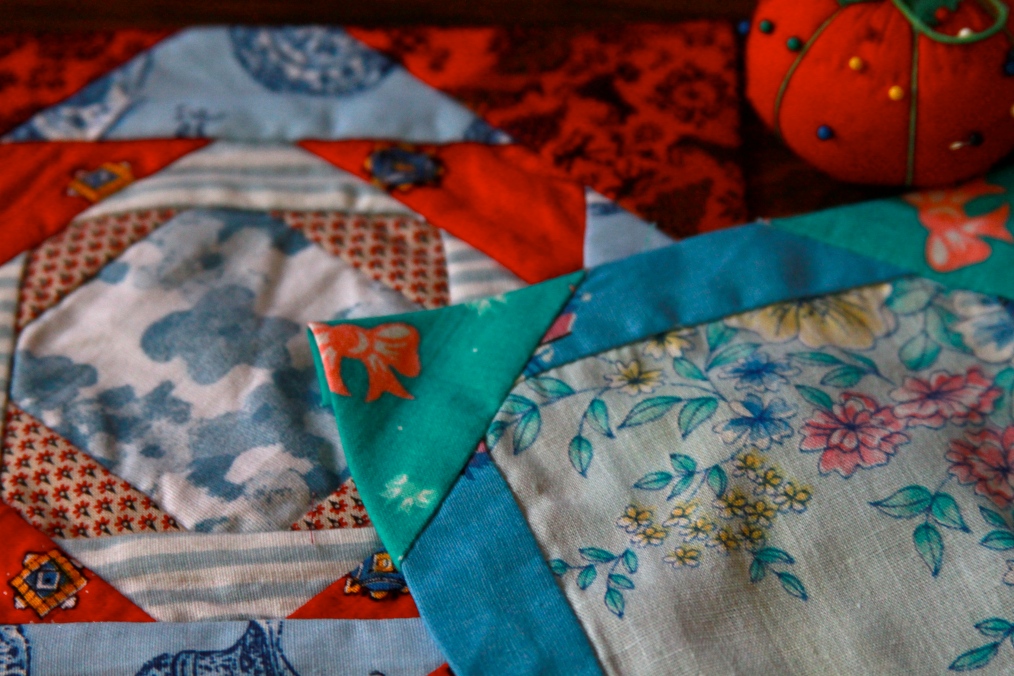
I’m on a quest to make my great grandma’s quilt top into a fully-functional, wrap-yourself-in-it-during-a-bad-cold-and-sip-some-hot-tea-on a-rainy-day quilt. Once I restore the flea market quilt top (see above photo) using a technique I learned at the quilt show, it will be the backing for my great grandma’s. Keep scrolling for a brief tutorial.
Please note: I am NOT a quilter. My most-uttered phrase when sewing is “Oh, I’m sure that will do.” I was told this is literally the simplest, most fool-proof way to construct a quilt. If you’re like me, then this quilting style is for you.
Step one: Cut a small square of fabric, any size. Mine was approximately 2.5×2.5″
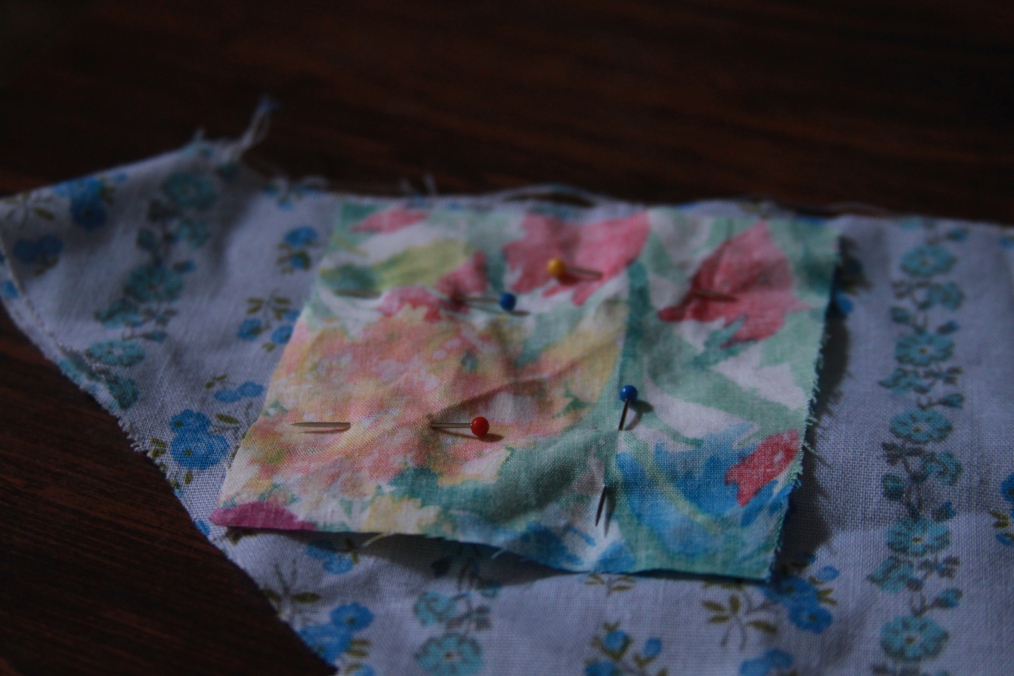
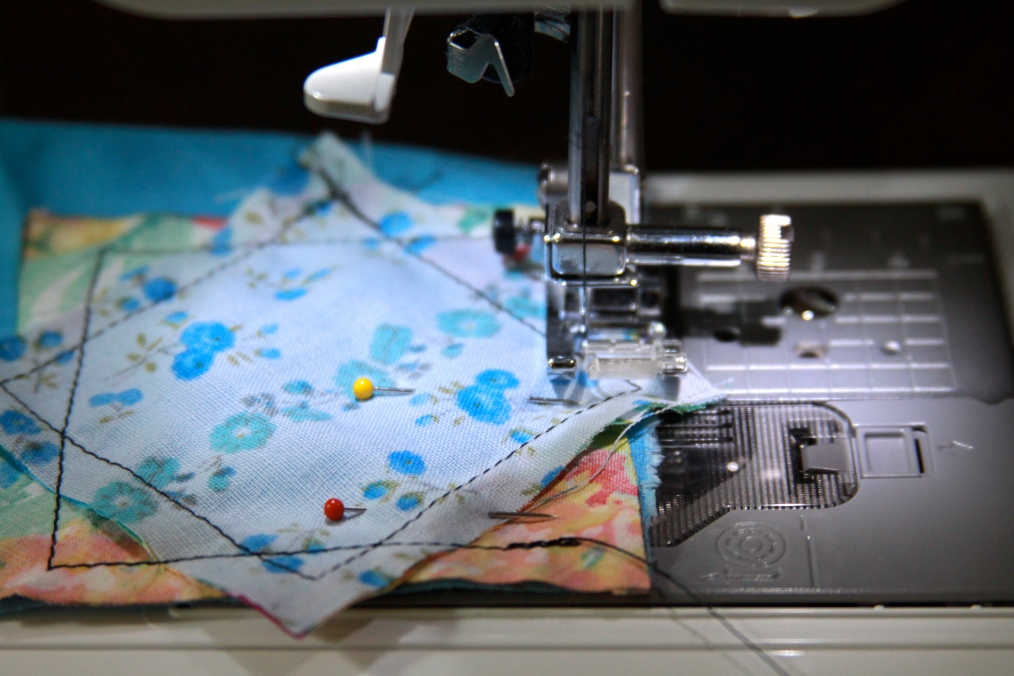
Step two: Pin your first square to another sqaure of fabric of the same size. I got so lazy that I didn’t bother cutting the second square and just continued to the next step (trust me, it works).
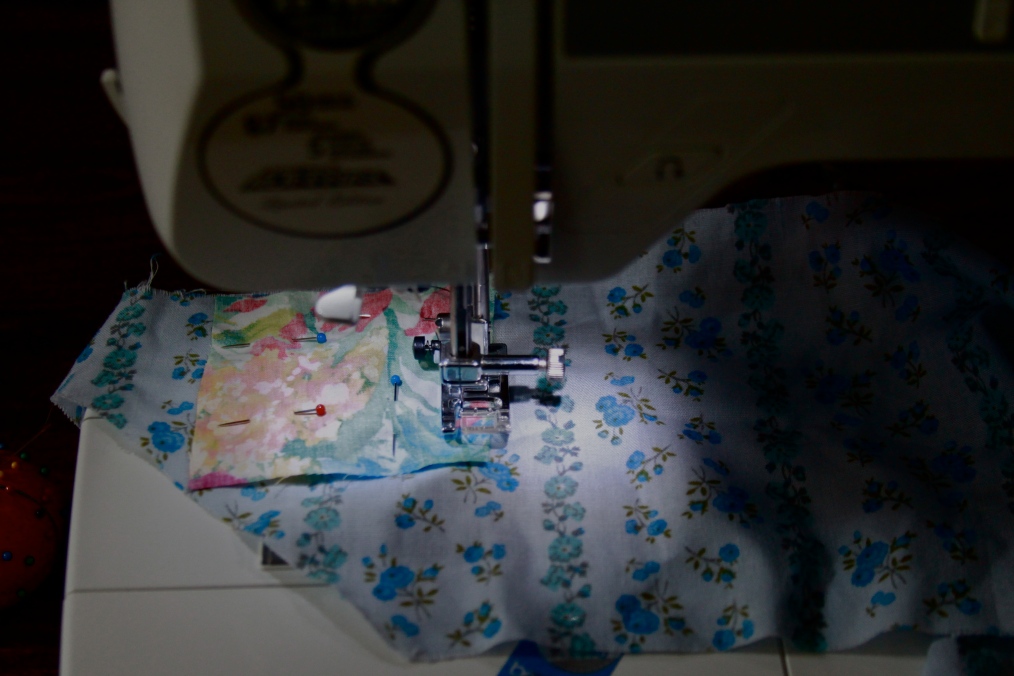
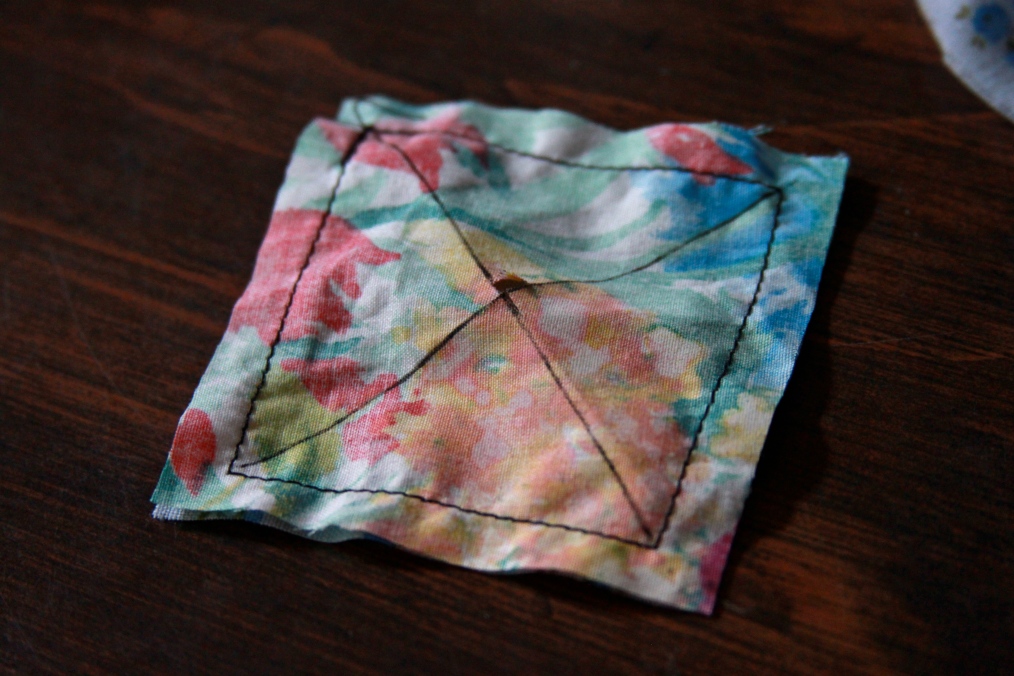
Step three: Sew all the way around your two squares leaving a small seam allowance.
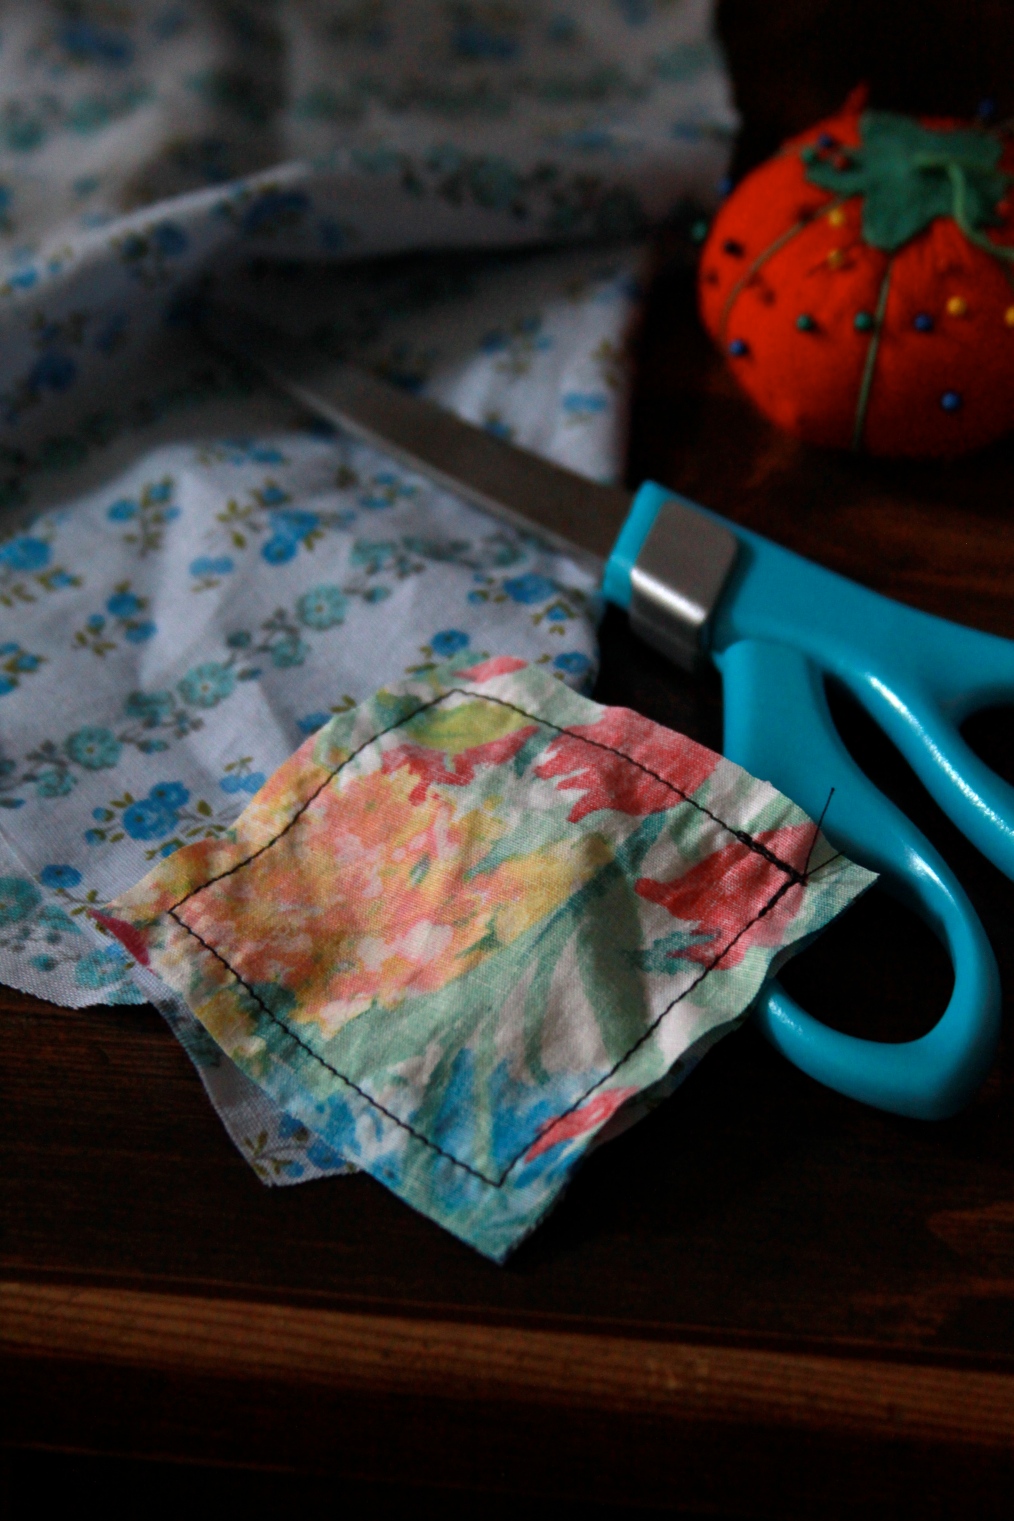
Step four: Draw two diagonal lines from corner to corner onto your sewn squares. Then create a small slit with a pair of scissors. Once you can get the tip of the scissors through, carefully cut along the lines, right to your sewing at the corners of your squares. If that sounds confusing, it’s not. See above photo.
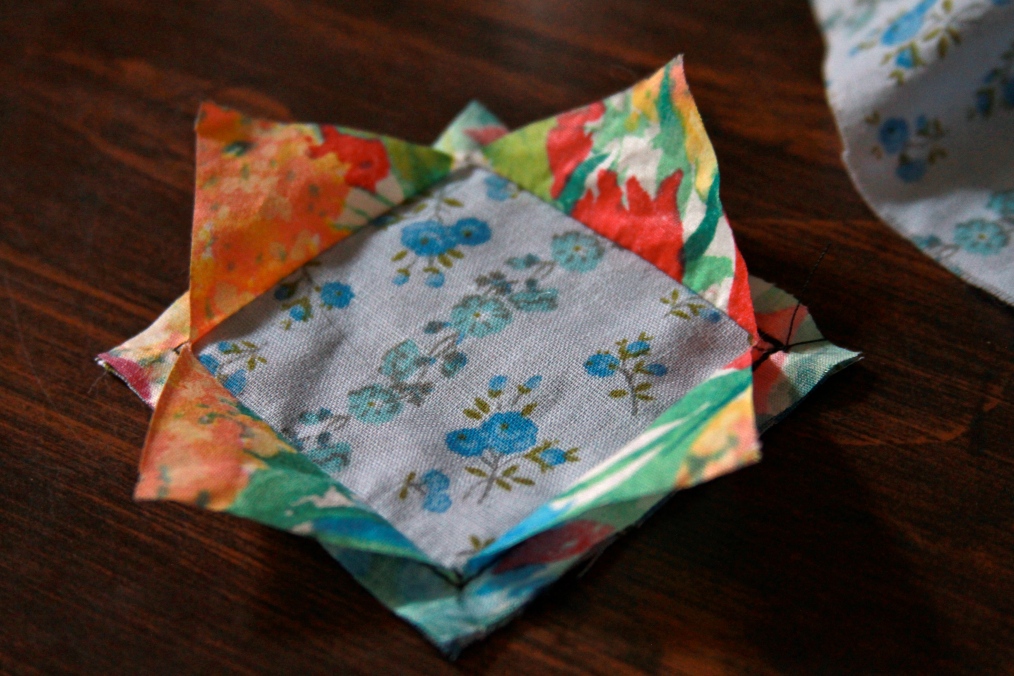
Step five: Pull apart the newly created flaps and reveal the center of your quilting square! I ironed all of mine flat before continuing to the next step but, I’m sure it would be fine if you just left it as is.
Step six: Continue to repeat steps two through five until desired effect is achieved. I usually did this two or three times, depending on the size of patch I needed.
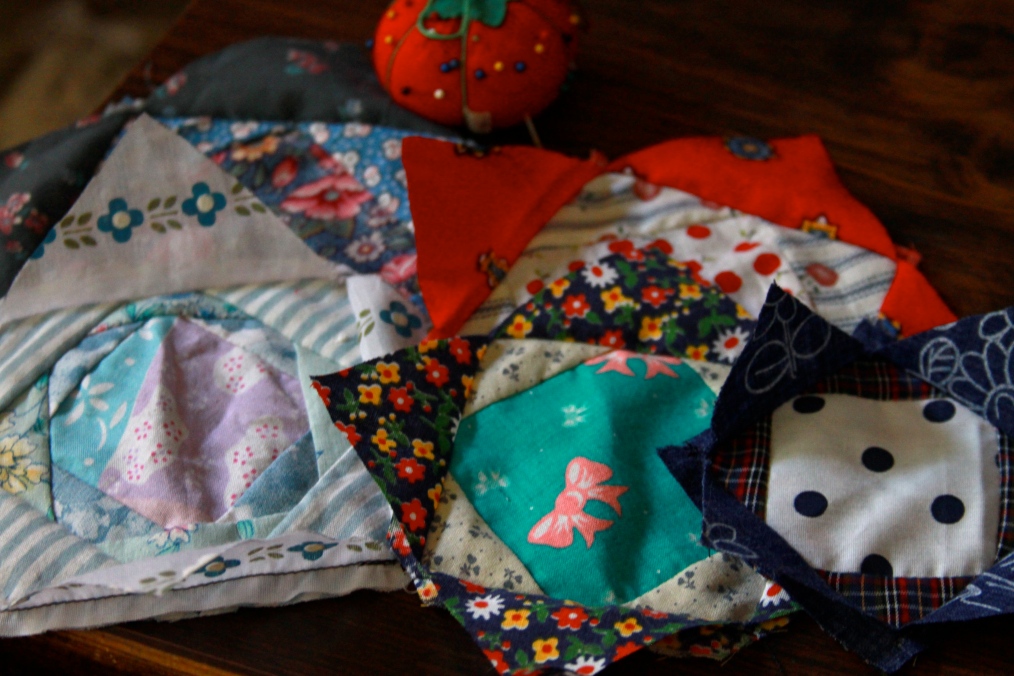
Keep scrolling to see more color combos and size variations. You can really go crazy with this pattern, be as matchy-matchy and or devil-may-care as you wish.
So now you know. Have you ever given this technique a try? Let me know! I’m also dying to see how others have restored heirloom quilts so don’t forget to comment, I’d love to hear all about it!
I got some more inspiration for this project from a recent trip to the Art Institute of Chicago’s American Textiles exhibit. Stay tuned these next few weeks for more on that.
xxx
Maria Nichole
